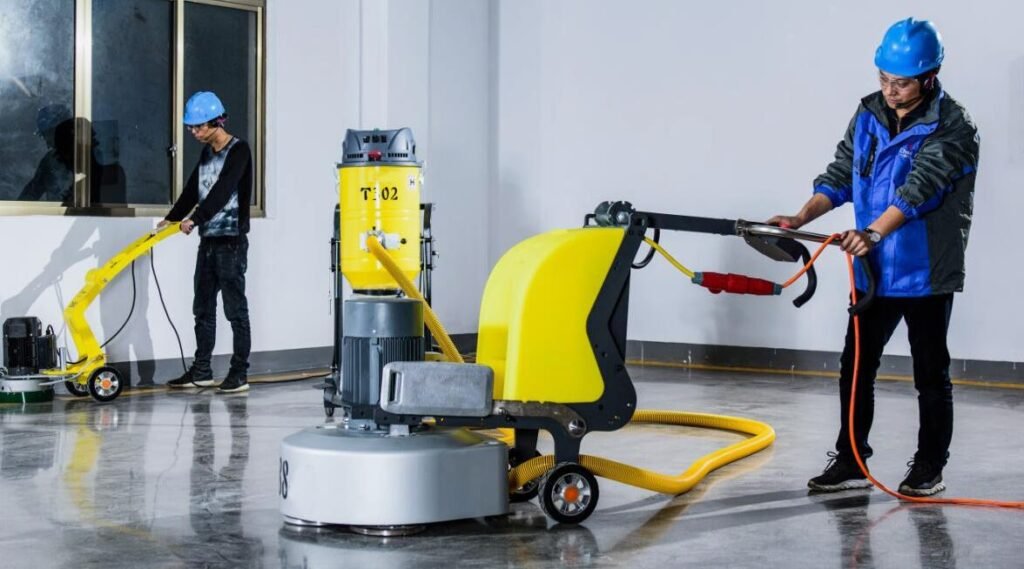
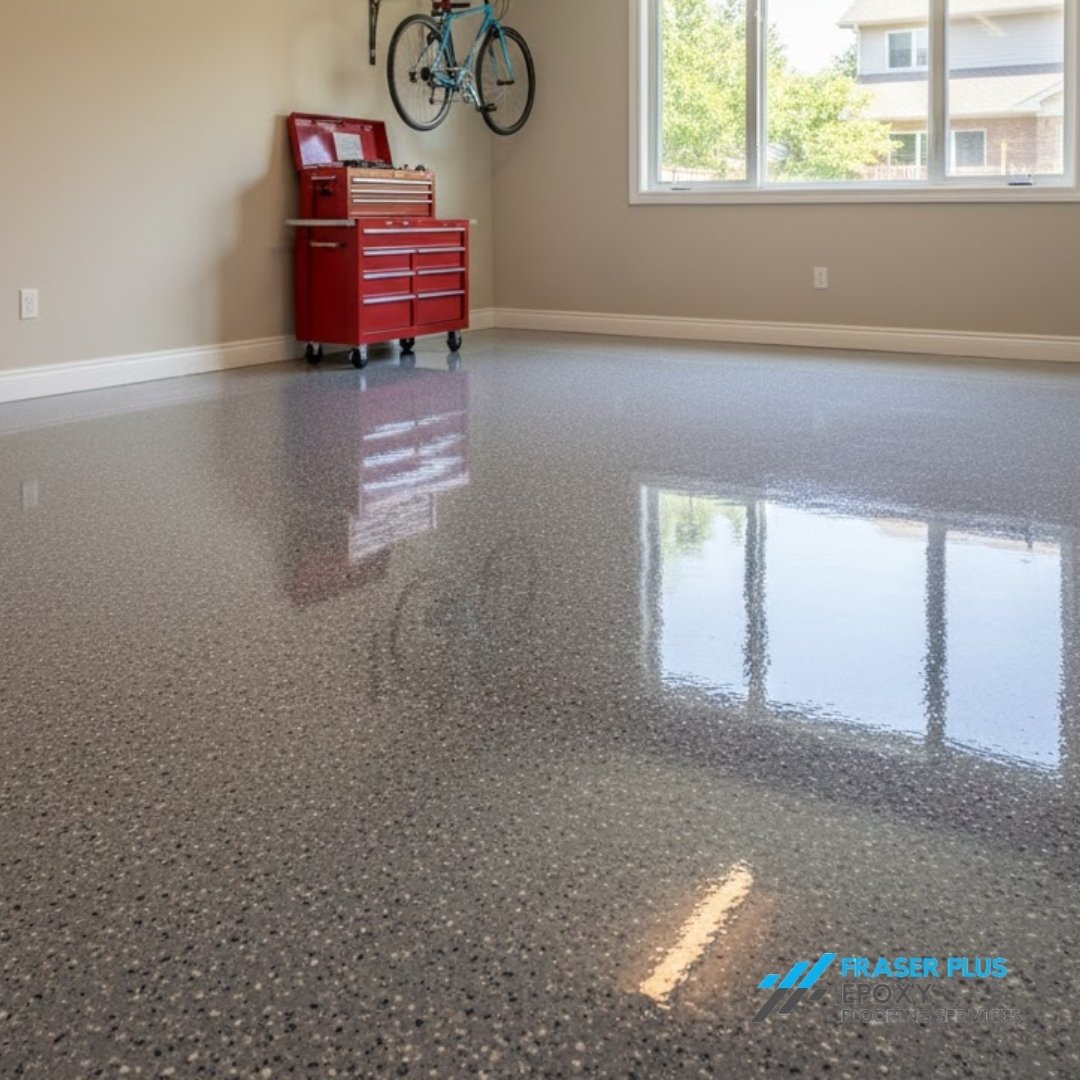
Concrete grinding is an essential step in preparing your floors for coatings, overlays, or polishing. Whether you’re working on a residential project or a commercial space, grinding the concrete helps create a smooth and even surface. However, the process leaves behind dust, debris, and residue that must be thoroughly cleaned before any further steps can be taken. In this blog, we’ll walk you through the step-by-step process of how to clean your concrete floor after grinding and explain when you should call in a professional to ensure the best results.
Why Cleaning After Concrete Grinding is Essential
After grinding your concrete floor, you are left with a layer of dust and fine particles. This residue, if not properly cleaned, can interfere with the adhesion of sealants, epoxy coatings, or stains. Proper cleaning ensures that your floor is ready for the next stage of your project, whether it’s sealing, staining, or polishing. Skipping this crucial step can result in poor bonding, uneven finishes, or even the failure of your coating in the long run.
Let’s explore the best techniques for cleaning your concrete floor after grinding to ensure a flawless finish.
Step-by-Step Guide to Cleaning Your Concrete Floor After Grinding
Cleaning a concrete floor after grinding requires a systematic approach to remove all dust, debris, and contaminants. Here’s a detailed guide to help you clean your floor efficiently:
Step 1: Vacuum the Floor
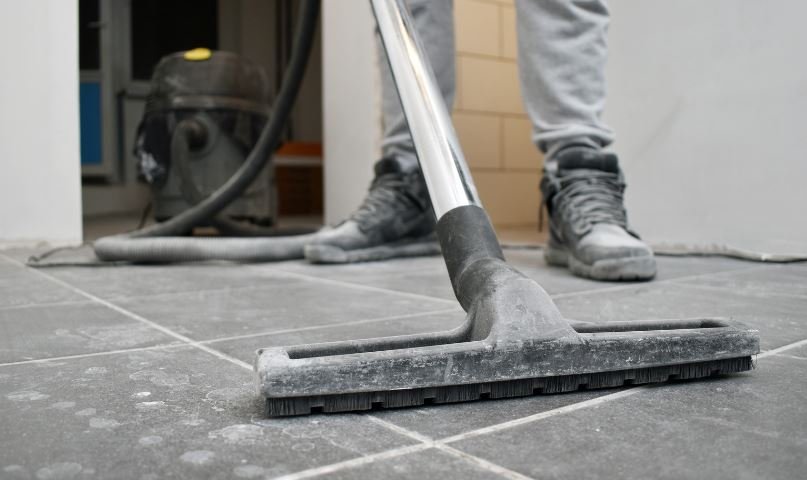
After grinding, the first step is to vacuum the entire surface. Use an industrial-grade vacuum cleaner with a high-efficiency particulate air (HEPA) filter to remove the fine dust particles. A regular household vacuum may not be strong enough to effectively clean up concrete dust, and it can blow the dust back into the air.
- Start by vacuuming the large debris from the surface.
- Work in sections, making sure to overlap areas to avoid missing any spots.
- Pay special attention to edges and corners where dust tends to accumulate.
Step 2: Sweep the Floor
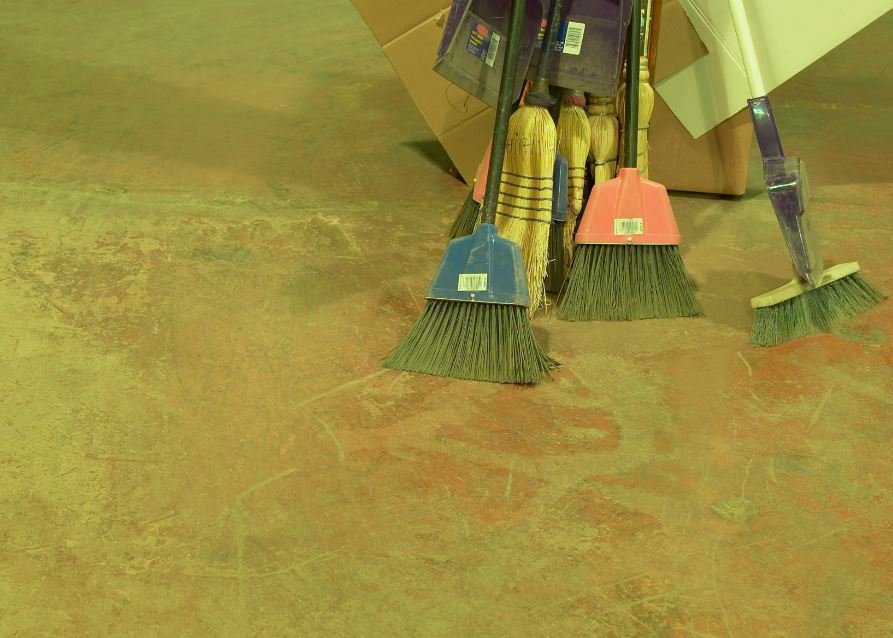
Once the initial vacuuming is done, use a soft-bristled broom to sweep the floor. While vacuuming removes most of the dust, sweeping will help you gather any particles the vacuum might have missed, especially in tricky areas like cracks or uneven spots in the concrete.
- Use a soft-bristle push broom to gently sweep across the surface.
- Ensure that you don’t spread dust to areas that have already been cleaned.
- Sweep towards a central point, making it easier to collect and remove dust.
- Step 3: Mop the Floor
After you’ve removed the bulk of the dust and debris, it’s time to mop the concrete floor to get rid of any remaining fine particles. Mopping not only removes dust but also helps eliminate any residue left from the grinding process.
- Use a damp microfiber mop or a mop with a sponge attachment.
- Avoid soaking the floor—concrete is porous, and excess water can cause stains or other issues.
- Mop in small sections, regularly rinsing the mop to avoid spreading dirt.
For best results, use warm water mixed with a mild cleaner. Avoid harsh chemicals or cleaners that leave a residue, as they can interfere with subsequent coatings or sealants.
Step 4: Scrub Stubborn Areas
In some cases, grinding may leave behind stubborn stains or areas with heavy residue. These spots will need extra attention to ensure the surface is clean and ready for the next step in your project.
- Use a non-abrasive scrubbing pad or a soft-bristle brush.
- Apply a concrete-friendly cleaner (make sure it’s pH-neutral) to the stained areas.
- Scrub in circular motions until the stains are removed.
- After scrubbing, mop the area again to remove any cleaner residue.
Step 5: Rinse and Dry the Floor
Once you’ve mopped and scrubbed the floor, it’s important to give the surface a final rinse to remove any lingering cleaning products or dust. This step is particularly important if you plan to apply a coating or sealant to the floor.
- Rinse the floor with clean, warm water.
- Use a wet/dry vacuum or a mop to remove excess water.
- Allow the floor to completely dry before moving on to the next step in your project. This may take several hours depending on your space’s ventilation and the amount of water used.
Tools and Materials You’ll Need for Cleaning
Having the right tools and materials on hand is essential for effectively cleaning your concrete floor after grinding. Here’s a quick checklist of what you’ll need:
- Industrial vacuum cleaner with a HEPA filter
- Soft-bristle push broom
- Microfiber mop or sponge mop
- Non-abrasive scrubbing pad or soft-bristle brush
- Concrete-friendly cleaner (pH-neutral)
- Wet/dry vacuum (optional but helpful for water removal)
Common Mistakes to Avoid When Cleaning After Concrete Grinding
While cleaning your concrete floor after grinding might seem straightforward, there are some common mistakes that can compromise the final result. Avoid these pitfalls to ensure a clean, smooth surface:
Skipping the Vacuuming Step
Some people make the mistake of skipping vacuuming and going straight to mopping. This can result in spreading dust and grinding residue over the floor, which makes it harder to achieve a clean finish. Always start with vacuuming to remove as much dust as possible.
Using Too Much Water
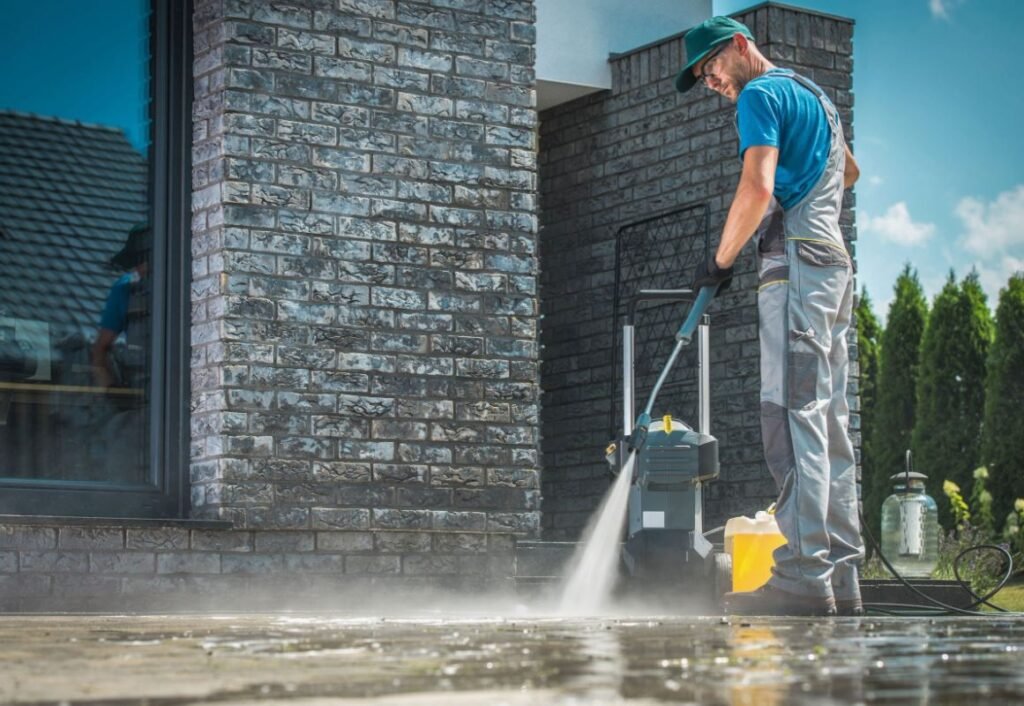
Concrete is porous, and excessive water can seep into the floor, causing stains, cracks, or weakening the surface. Be sure to use just enough water to clean the floor without oversaturating it. After mopping, make sure the floor is completely dry before moving on.
Not Using the Right Cleaner
Using harsh chemicals or cleaners not designed for concrete can damage your floor or leave behind a residue that prevents proper adhesion of coatings or sealants. Always use a pH-neutral cleaner that’s safe for concrete.
When to Call a Professional for Help
Cleaning a concrete floor after grinding may seem like a simple task, but for larger projects or commercial spaces, it can be a time-consuming and labor-intensive process. Additionally, improper cleaning can lead to long-term issues with coatings or sealants, requiring costly repairs down the line.
Call a Professional for Large or Complicated Spaces
If you’re working on a large area or a complex space with hard-to-reach spots, hiring a professional cleaning service is a wise investment. Professionals have the right tools and experience to thoroughly clean the floor, ensuring that it’s perfectly prepped for the next step in your project.
Additionally, if your concrete floor has been heavily stained or damaged during grinding, a professional cleaner will know how to effectively address those issues without causing further damage.
Properly cleaning your concrete floor after grinding is a critical step in ensuring a smooth and successful finish, whether you’re applying an epoxy coating, sealant, or preparing the surface for polishing. By following the steps outlined in this guide—vacuuming, sweeping, mopping, scrubbing, and drying—you can achieve a clean and even surface, ready for the next phase of your project.
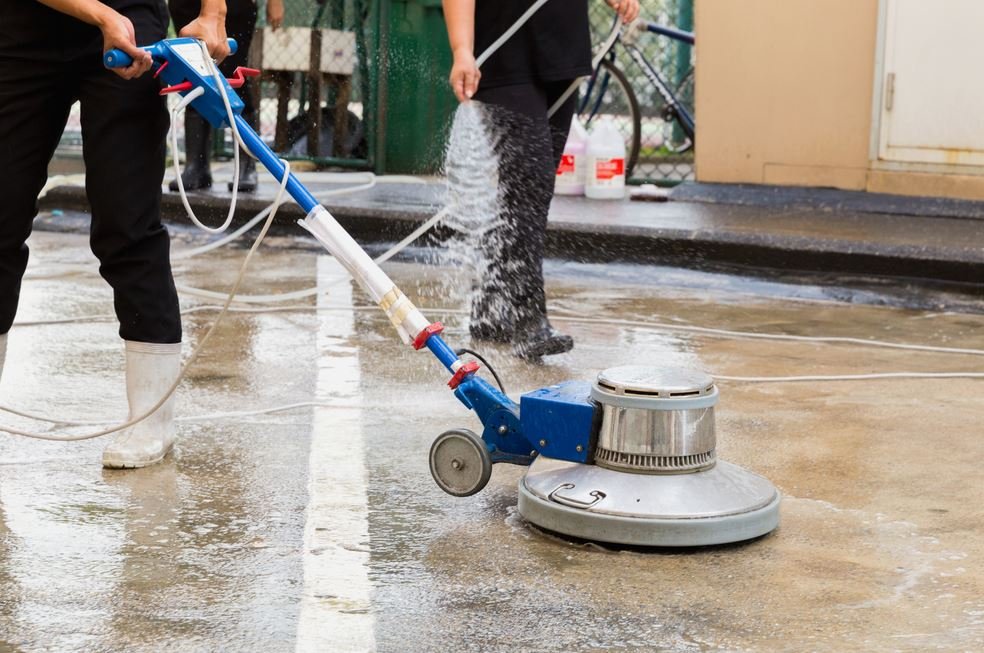
Remember, if you’re dealing with a large space or you’re unsure about the cleaning process, it’s always a good idea to call in a professional. With the right tools, techniques, and expert help, your concrete floor will be perfectly prepped for a flawless finish.

